Steps To Configure Exchange Online With Xeams
When using Xeams with Exchange Online, you will need to make a few changes in your Exchange portal. These steps are necessary because once Xeams is in the picture, every email coming in from the Internet will appear to come from Xeams and therefore, you will have to configure Exchange to disable filtering for messages coming in from certain IP addresses.
Here is a before and after network diagram.

Before

After
Steps To Configure Exchange Online
Configuration in Exchange Online on Office 365 Portal
- Create a rule to disable built-in spam filtering when emails are received from your IP address using following steps:
- Log in to Exchange portal on https://outlook.office365.com/ecp/default.aspx
- Click mail flow
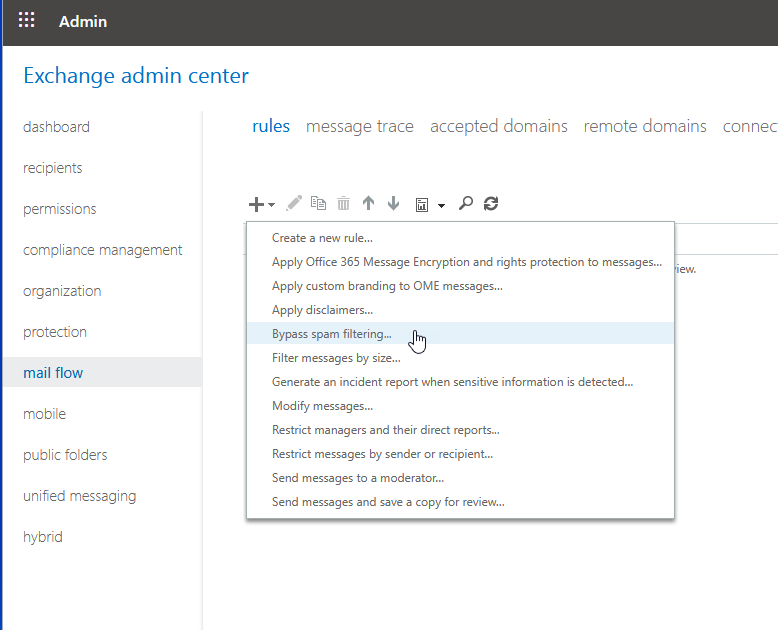
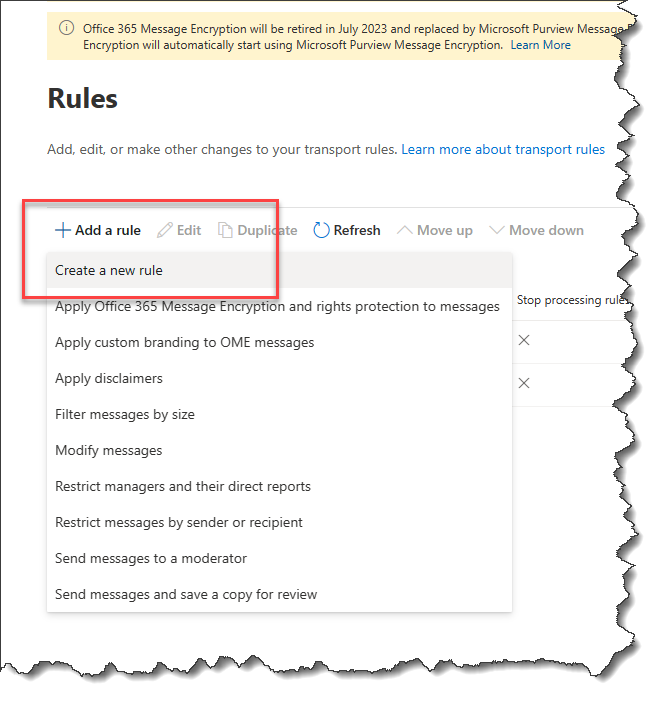
- Add a new rule. Screen shot... or Screen shot...
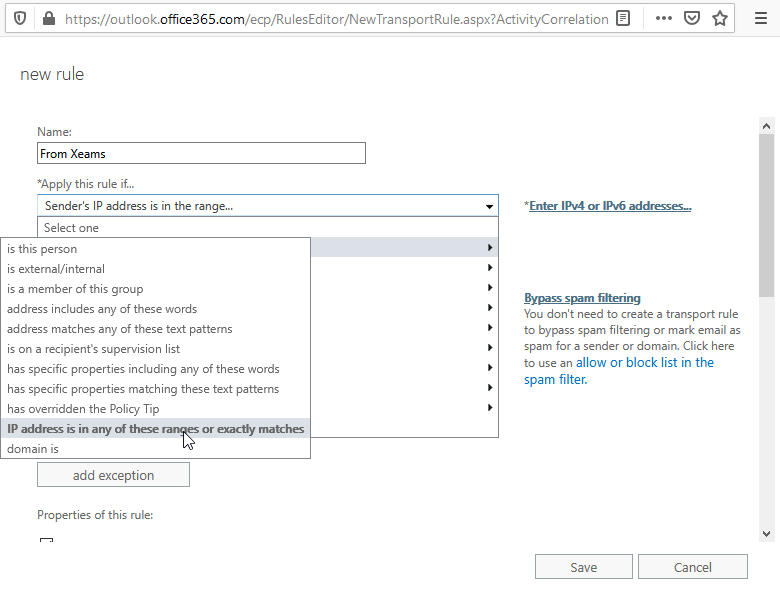
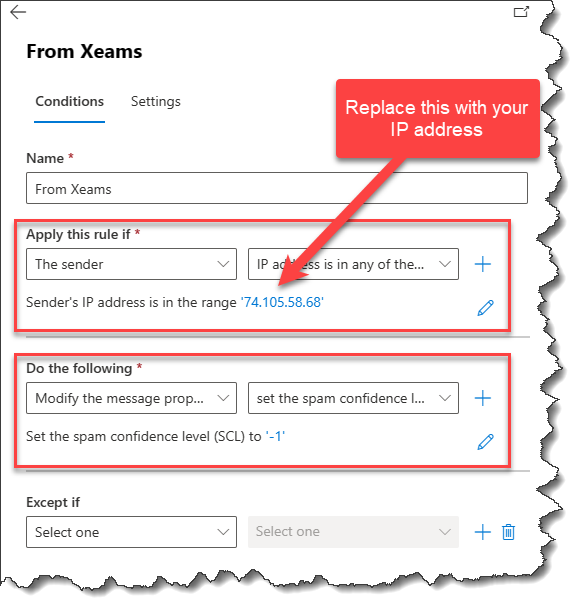
- Configure this new rule to set the spam confidence level (-1) to -1. Screen shot... or Screen shot...
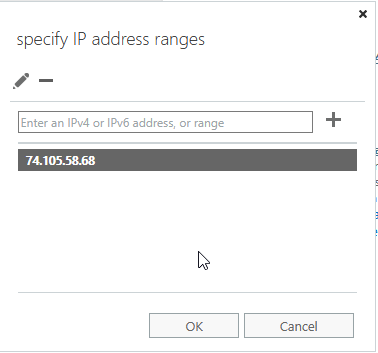
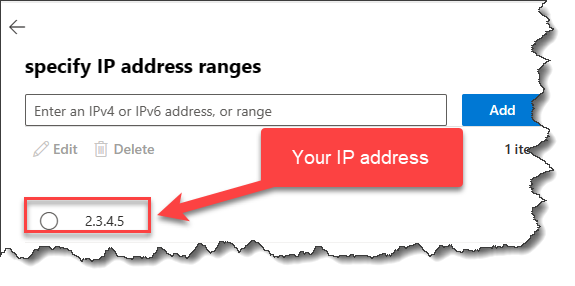
- Add the IP address where Xeams is running to this rule.
Screen shot... or
Screen shot...
Note: When using Xeams Cloud, contact our support department for actual IP address. - Once done, Exchange will not filter any email coming from Xeams.
IP Throttling on Exchange Online
When using Xeams in the front, servers on Office 365 will see every message coming from your IP address, which
could kick in the rate limits on Microsoft's end and you could see the following error message in the
SMTPOutboundConversation.log.
451 5.7.(500-699) Server Busy. Please try again later.
The following steps are copied from this page on Microsoft's site to add a connector, which resolves this issue.
- Log in to Exchange portal on https://outlook.office365.com/ecp/default.aspx
- Click mail flow
- Click connectors
- Click the icon to add a new connector.
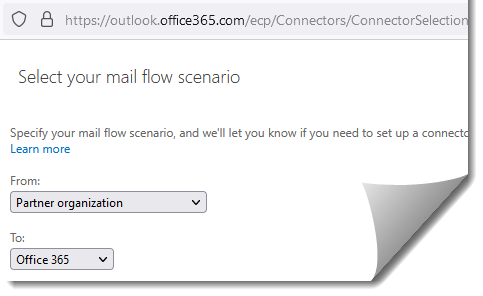
- Select Partner organization for the From and Office 356 for To, similar to the image below. Screen shot...
- Provide a name for this connection on the following screen.
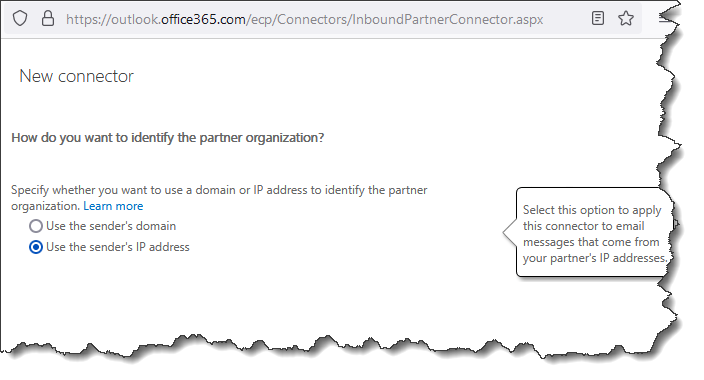
- Select Use the sender's IP address on the following screen. Screen shot...
- Add the IP address where Xeams is running on the following screen.
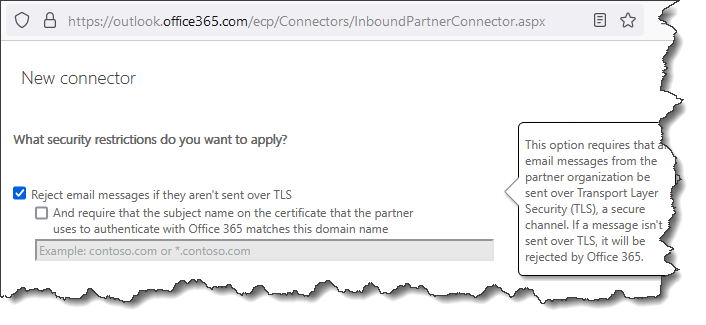
- Next, leave Reject email messages if they aren't sent over TLS. Screen shot...
- Finally, save the settings

