Product » A free email server for Windows and Linux » Knowledge Base
Document information
| Document ID: | 4629 |
|---|---|
| Subject: | Switching from Smtp Proxy to regular Smtp Server |
| Creation date: | 12/14/15 4:35 PM |
| Last modified on: | 11/4/24 9:54 AM |
Switching from SMTP Proxy server to the SMTP Server
Important! SMTP Proxy Server will be deprecated in the future. We recommended you switch from SMTP Proxy
Server to the Regular SMTP Server.
SMTP Proxy is typically used in
Firewall/Hybrid mode. It is not used in Stand-alone mode.
This article talks about the pros and cons of using SMTP Proxy Server and steps on how to switch to the Regular SMTP Server.
Pros and Cons of SMTP Proxy Server
- Less configuration. No need to specify local domains. The acceptance/rejection of any incoming
email is delegated to the downstream server.
Refer to this page for detail differences between Proxy and Regular SMTP.
- SMTP Proxy is less secure. Malicious users on the Internet can send commands to your downstream server through Xeams. For example, they can send the AUTH command, which is used to authenticate users. Using brute force, someone can crack a userid/password on your downstream server.
- Xeams will go down if the downstream server goes down
Steps to switch
- Connect to the Admin Console.
- Click Server Configuration/Smtp Configuration.
- Click the Domain Configuration tab.
- Add domains belonging to your company. Put the internal IP address of your downstream server (the one that gets emails after Xeams
is done filtering) in the Forward To field. This must be done for every domain you have.
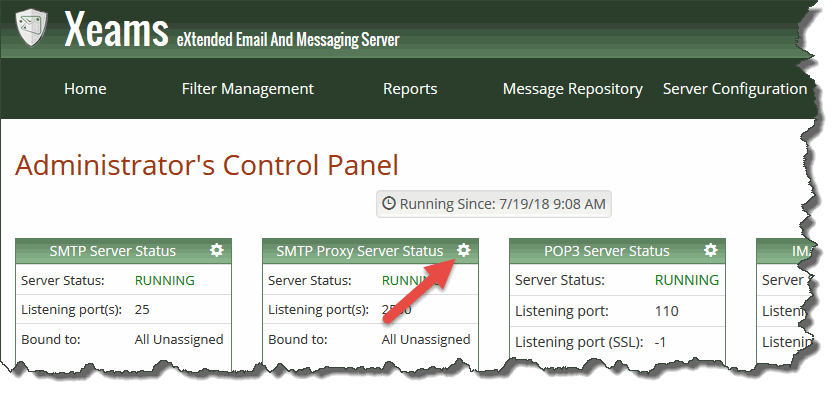
Note: if the port number is anything other than 25, specify the port number by adding a colon then the port value. For example, if your downstream server is on ip address 192.168.1.110 and it's port is 2525, you'd put: 192.168.1.110:2525 . - Click the Configure link for SMTP Proxy. Click here for a screen shot
- Disable the SMTP proxy server. To do this, uncheck the option Enable SMTP Proxy.
- Click the Save button
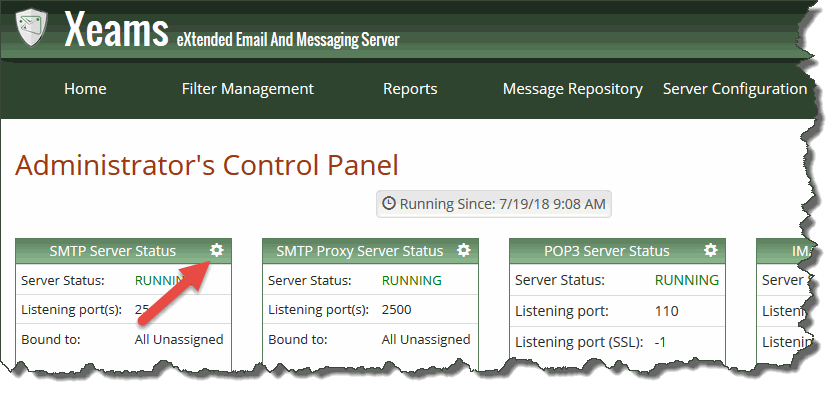
- Now click the Configure link for the normal SMTP server. Click here for a screen shot.
- Click on the Basic Configuration tab
- Enable the server if needed and change the port to 25.
- Run Diagnostic Check - Inbound under Tools to ensure every check passes.
Note: If the regular SMTP server was on a different IP address than the proxy, make sure to change the firewall so the incoming traffic for port 25 goes to the regular SMTP server instead.
Troubleshooting common problems
If for any reason the SMTP server does not listen on the port 25, try:- Disabling/Enabling the server again
- Check Xeams.log file for any errors. Click Tools/View Logs on the main menu to see the log file.
Add a comment to this document
Do you have a helpful tip related to this document that you'd like to share with other users?
Important: This area is reserved for useful tips. Therefore, do not post questions here. Instead, use our public forums to post questions.


