How do I install Xeams on Windows?
Installing Xeams is a two-step process.
- Installing the binary
- Performing initial setup
Installing Binary
Follow the steps below to install Xeams on a Windows machine.- Download Xeams from here
- Extract the zipped file into a temporary folder
- Double click Setup.exe
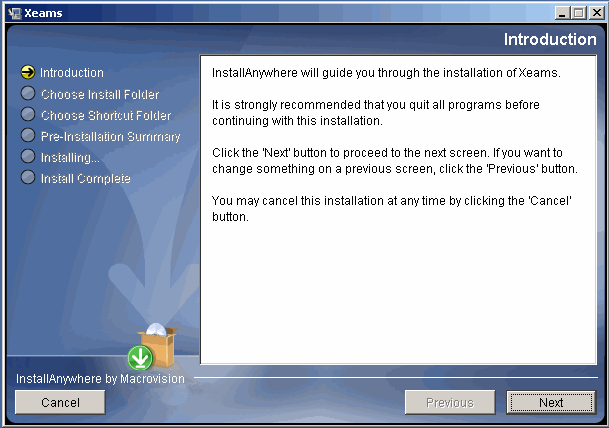
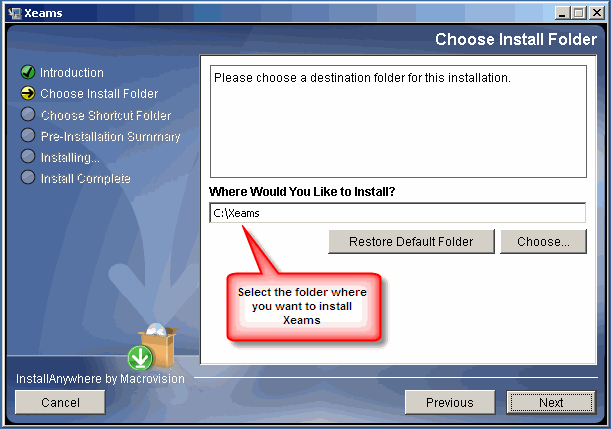
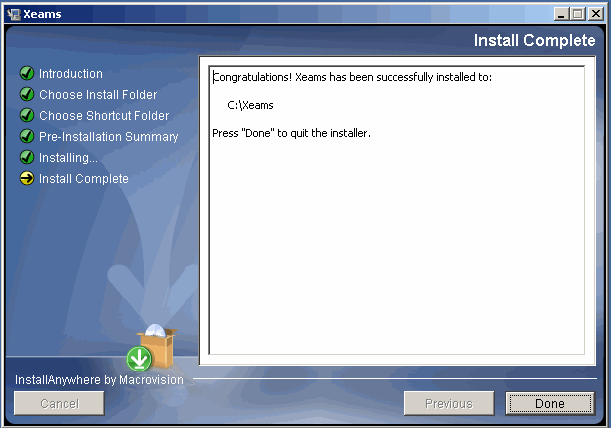
- Follow the instructions on the screen.
- Below are a few screen shots that appear during the installation process


IMPORTANT: DO NOT install Xeams in the "Program Files" folder. Click here to read why.
- Towards the end, the installer will add Xeams as a Windows Service and will open a web browser connecting to the Administration console
- The browser will display the initial setup page. Follow the instruction on the screen to complete the installation process.
Performing Initial Setup
Initial setup is performed by connecting to the Administration console, which is a web based application. Although the installation program will automatically start the console towards the end, type the following URL in your browser if you need to start it again.http://localhost:5272
The first time you connect to the Administration console, it starts the initial setup. Follow the instructions on the screen to complete this process. Important: since the administration console is web-based application, it provides plenty of help links that walk you through this process.
