Xeams Virtual Machine with ClamAV
Prerequisites
You will need the following installed or downloaded on your computer:
- Oracle VirtualBox OR VMWare Player
- Xeams VM Appliance - Download Now. File size is around 950MB
Importing the OVA file - VirtualBox
- Go to File > Import Appliance... [Image]
- Browse to the Xeams OVA file, then click Next [Image]
- The default settings should be sufficient, so go ahead and click Import [Image]
- After the Import has completed, you should see Xeams [chip architecture i.e 64 or 32] & Clam AV included in your Virtual Machine list in VirtualBox. For example, if you downloaded the 32 bit version you would see Xeams 32 & Clam AV in your Virtual Machine List.
Importing the OVA file - VMWare Player
- Go to Player > File > Open... [Image]
- Name the VM and specify its Storage Path [Image]
- If you are prompted with the following error, click Retry [Image]
- Allow the import complete [Image]
Virtual Machine Settings
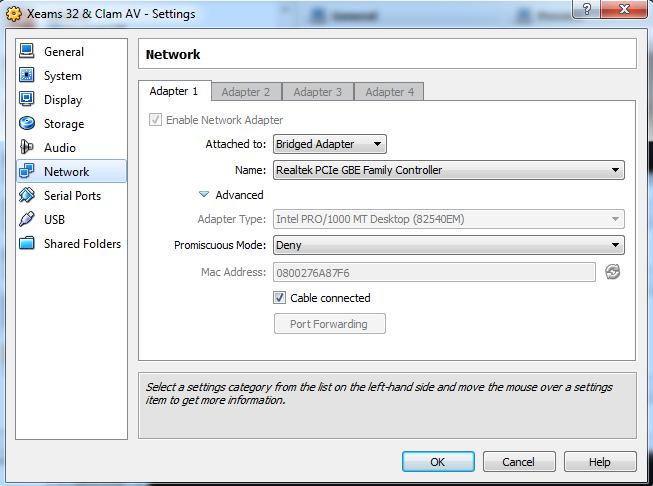
Before starting the VM, configure the following settings (as shown) to work optimally with Xeams.
- Virtual Box Settings
- Network
- Enable a Network Adapter
- Use a Bridged Adapter

While you can use a NAT network adapter, it is much easier to use Bridge Adapter. NAT will place your Virtual Machine on a separate subnetwork, so you will have to open up ports on your VM in order to make it accessible from other devices. On the other hand, a Bridged Adapter creates the VM on the same network, so accessing Xeams would not require opening up any firewalls or setting up any port forwarding.
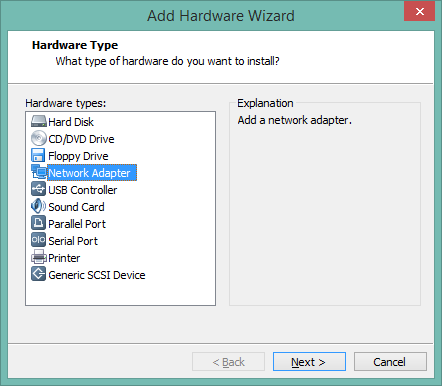
VMWare Player Settings
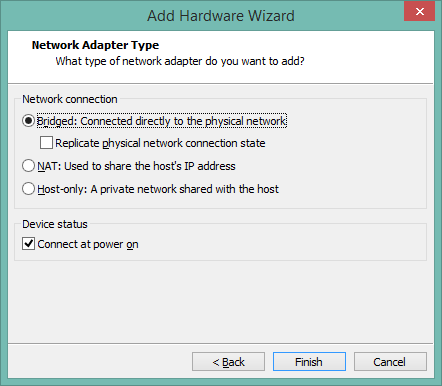
Upon starting the VM, you might encounter a failed network status. To fix this, you need to configure the Network settings in VMWare Player. Specify a Bridged Network Connection:

Select the Intel(R) Network Adapter, then click OK:

After Starting the Machine
- The bash shell is available via SSH and VM console if the host is not headless.
- The following are readily available when the network settings entered correctly.
| Service Port | Description |
|---|---|
| SSH/SFTP | 22 Connect to this VM via an SSH or SFTP connection |
| Xeams | 5272 Xeams's web interface is accessible via port 5272 |
Xeams Web Interface
Open up a browser on a different computer.
Go to http://xeams01:5272
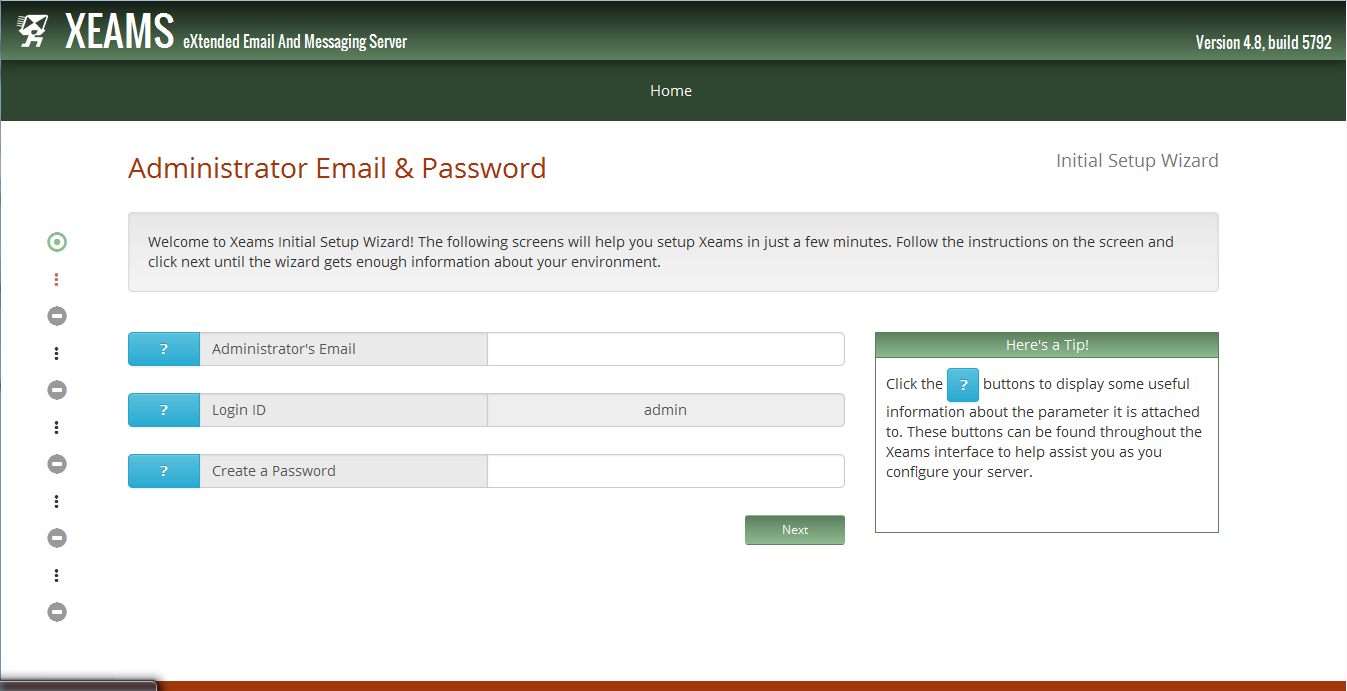
This should bring you to Xeams's Web Interface. If this is your first time connecting, follow the on-screen instructions to set up some initial configuration settings. After completing the initial setup, you are ready to use Xeams!

Other Details About Xeams VM
| Parameter | Value |
|---|---|
| Shell Username | xeams |
| Shell password | p@ssword123 |
| Root Password | Not set: Run bash command (sudo passwd) |
